Configure screen folders
This section will guide you through setting up and configuring your screen folders.
Before you begin, we recommend reading the Planning section for useful tips and information on the setup.
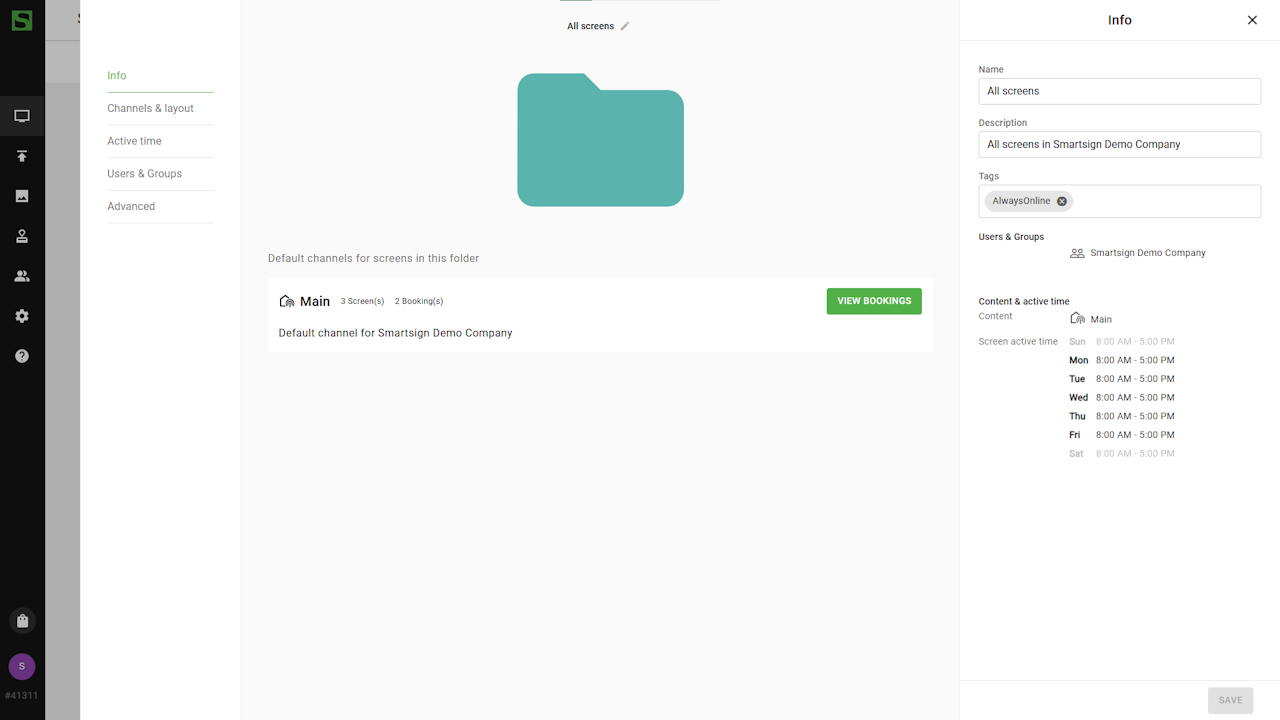
Root-folder
The All Screens folder is the root of every default Smartsign site.
It holds the default settings that are inherited by all screens and
sub-folders.
Start by configuring your default settings for the root folder, which
simplifies the setup of sub-folders and screens.
-
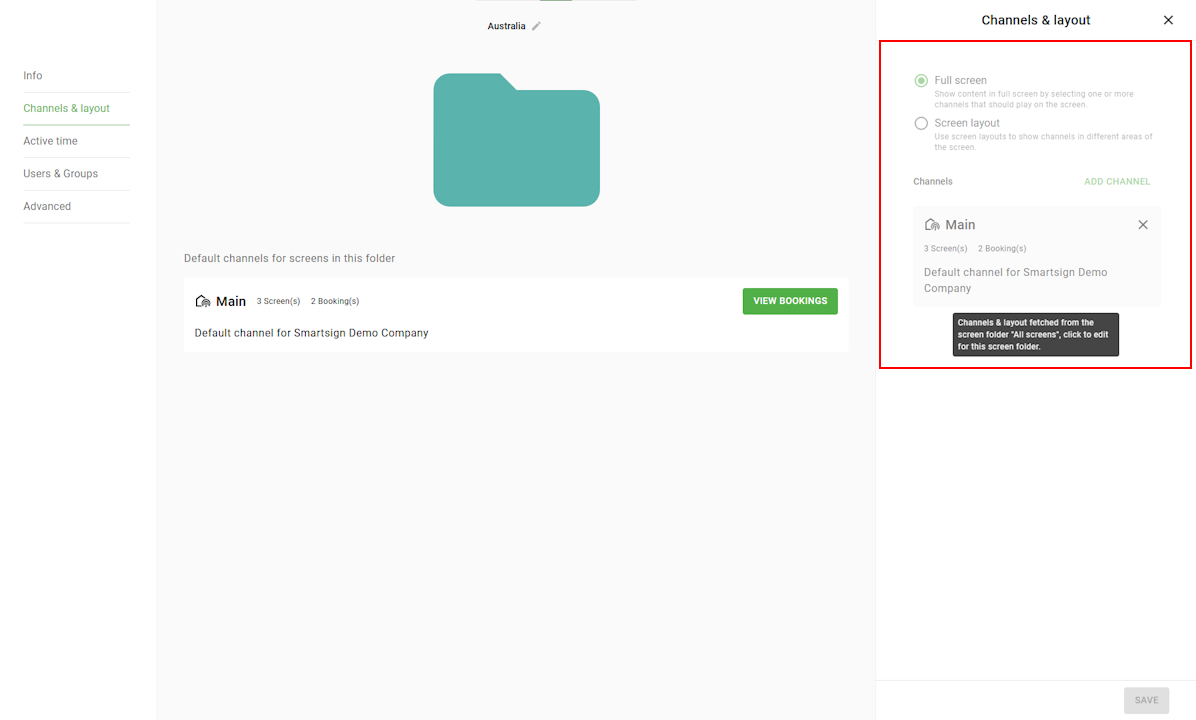
Channels & Layouts
The selected screen layout or channel will be displayed on all screens within the folder. -
Active Time
Controls when the screens in the folder are available for bookings. -
Users & Groups
Define which users and groups can access and manage the folder. Applies only to Publisher and Admin users — Site Owners can see all folders by default. -
Advanced
Use advanced settings to apply changes to multiple screens at once, such as timezone, fallback image, and location. See the Advanced settings article to learn more about these options.
If you edit any of these settings in a sub-folder or on a screen, they will no longer inherit updates from the root folder. However, you can revert individual settings back to the root defaults at any time.
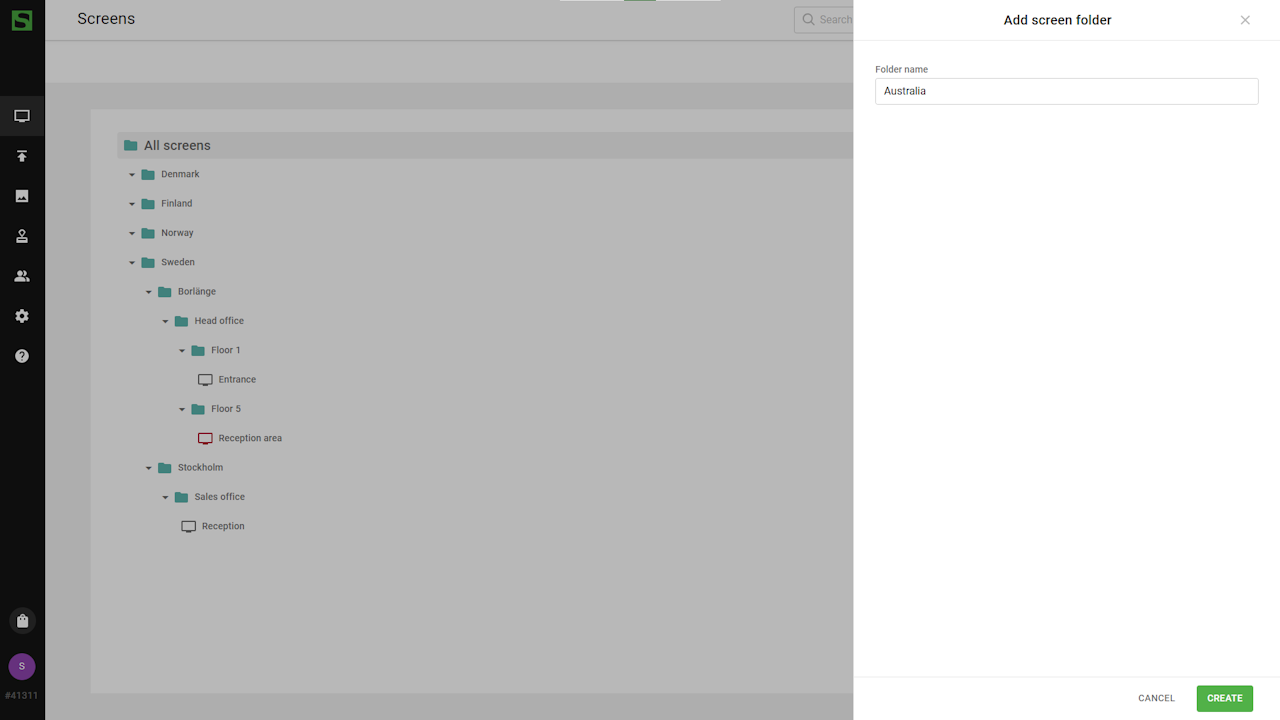
Add sub-folders
-
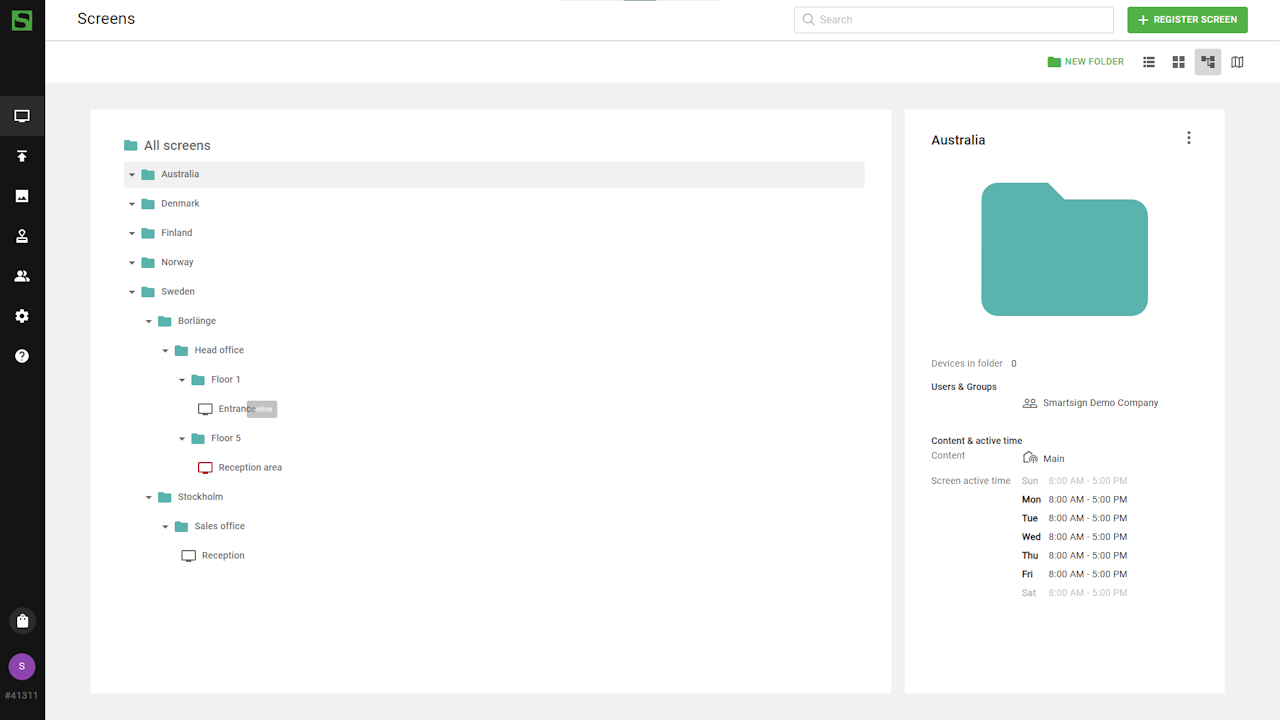
Open the tree view, select the folder where you want to add a new sub-folder, and click Add Folder.

-
Give your folder a suitable name.
-
You can now view the folder details, change the parent folder, or adjust individual settings using the tabs on the left.
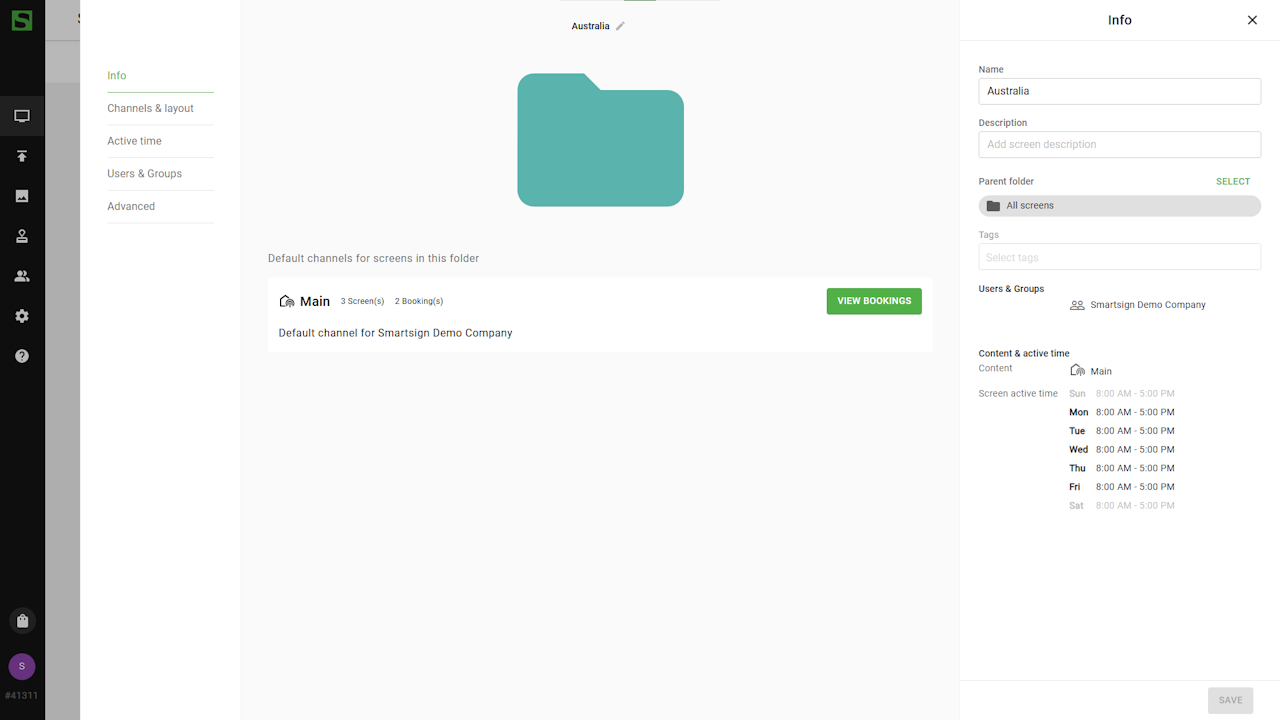
-
Save when you’re done. The folder will now appear in your tree.
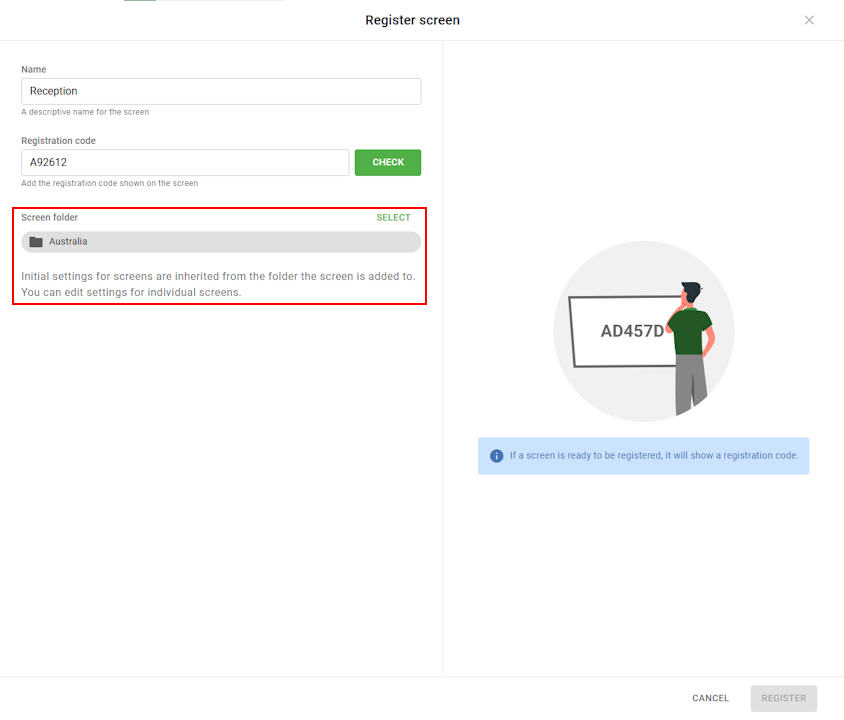
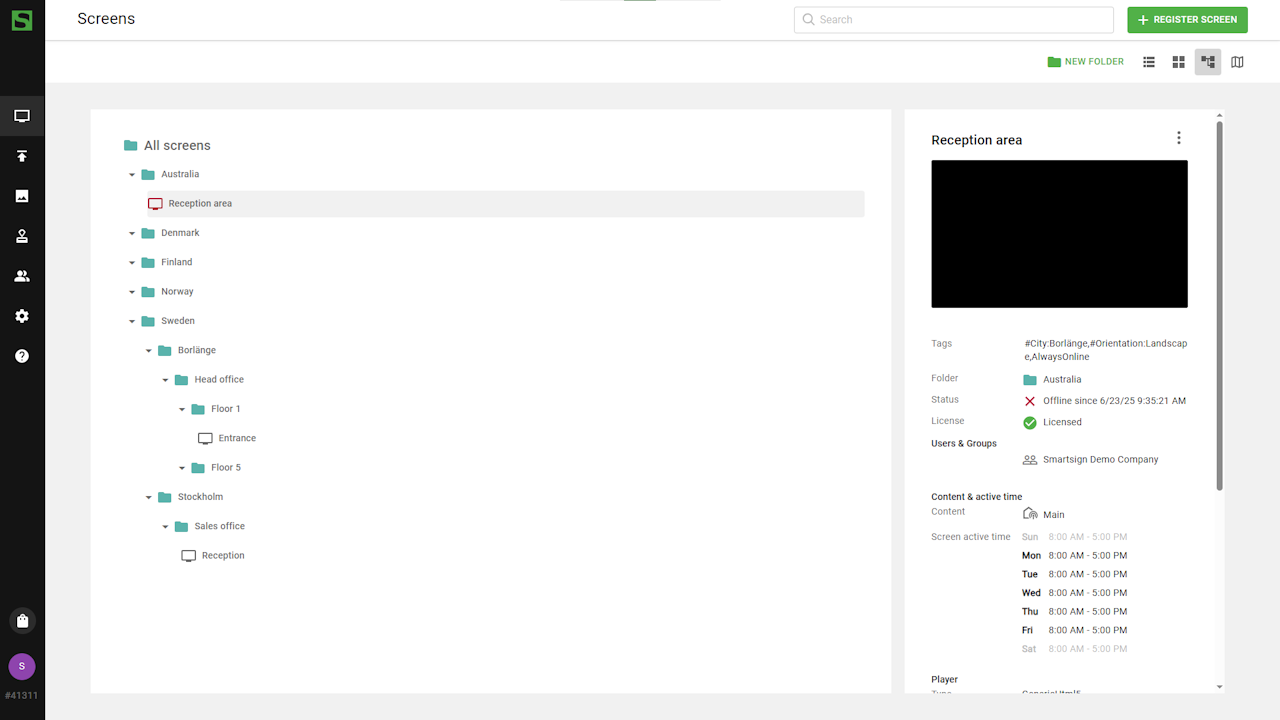
Add screens to folders
A screen is added to a folder when registered to the site. It will
immediately inherit the folder’s settings and booked content, making
setup fast and convenient.
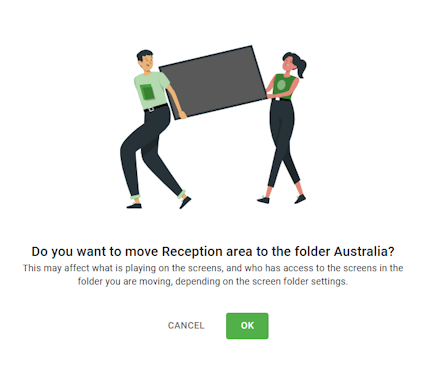
Move screens or sub-folders
Moving a screen or sub-folder lets you quickly apply new settings and content without extra manual work. This is especially useful when one or more physical screens are relocated.
If you move a sub-folder that contains screens, all screens within it will automatically move to the new parent folder as well.
-
To move a screen or folder, select it in the tree view and choose Move to Folder from the options menu.

-
Select the destination folder and confirm.
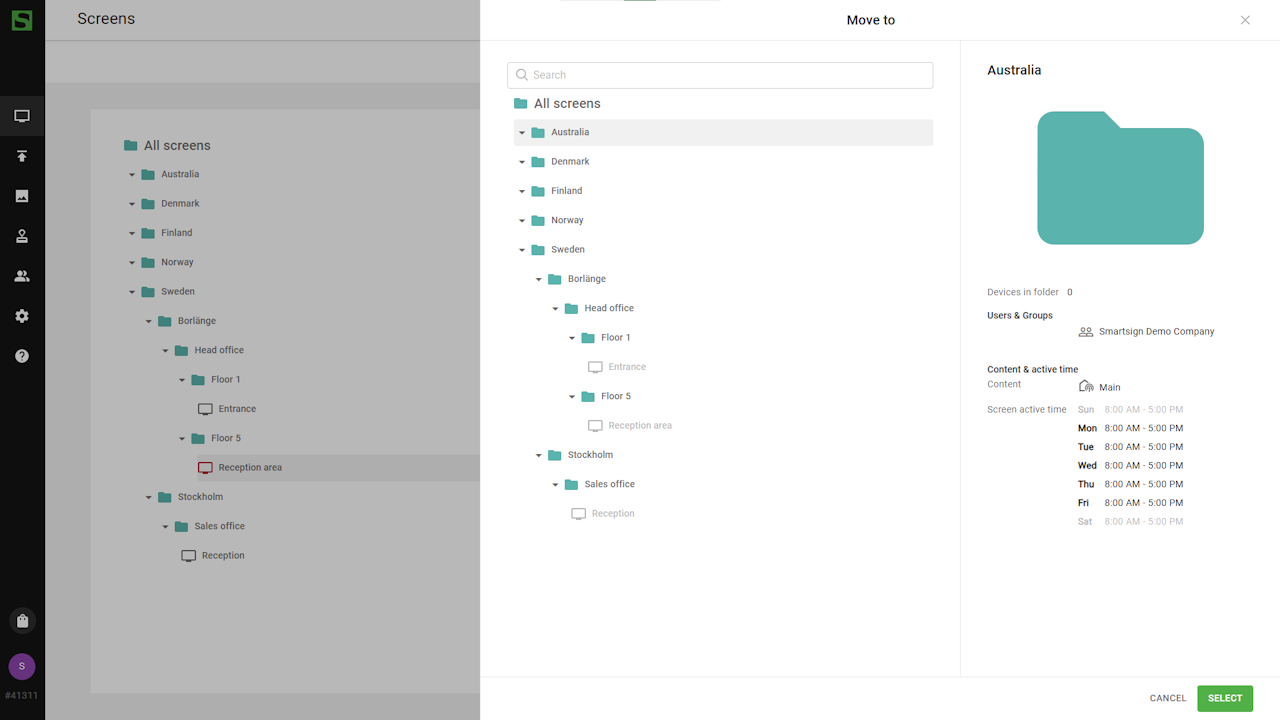
-
The screen is now located in the new folder.
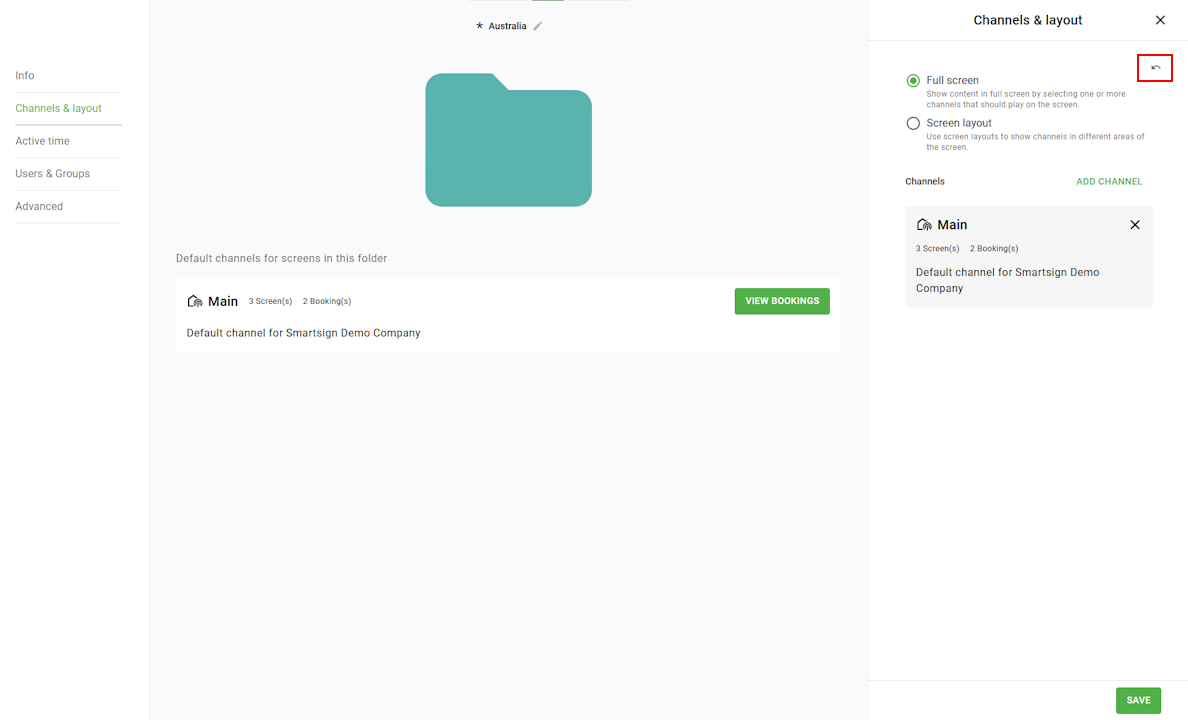
Individual settings
Sometimes you may need to configure individual settings for a screen or folder - for example, if they require different active hours, layouts, or content.
To do this, open the screen or folder details and select the appropriate settings tab on the left.
- Click on the gray area to enable individual settings.
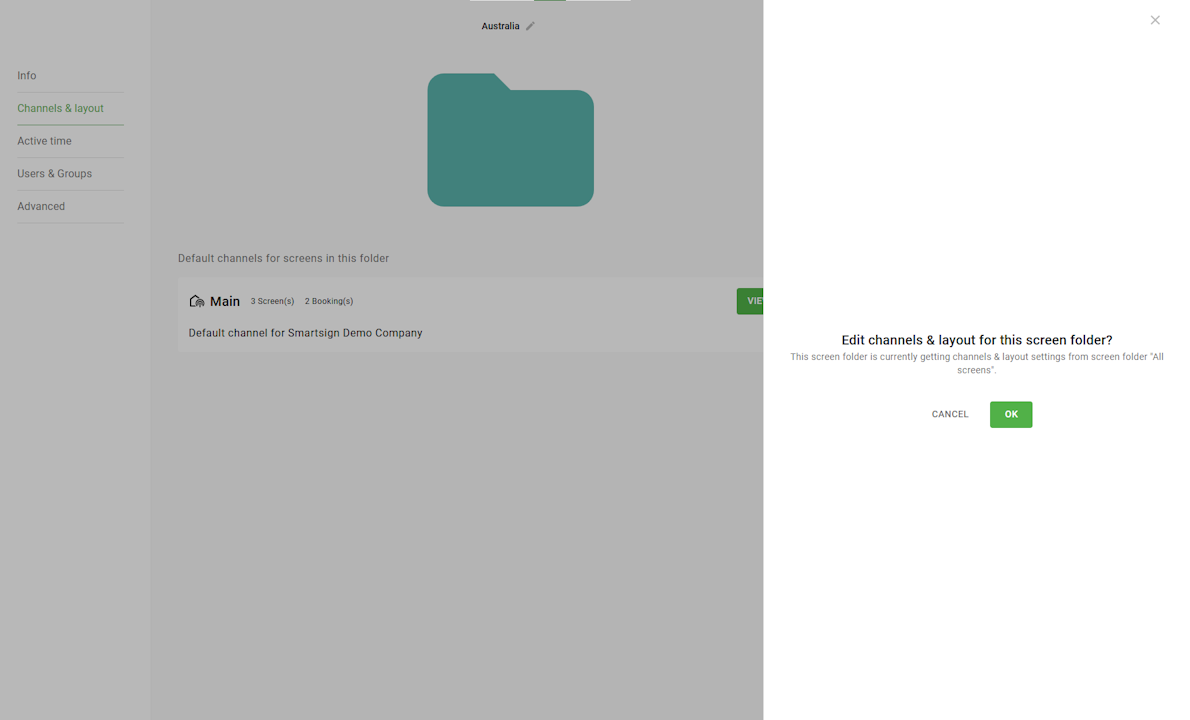
You can now configure individual settings that will no longer be affected by the parent folder.
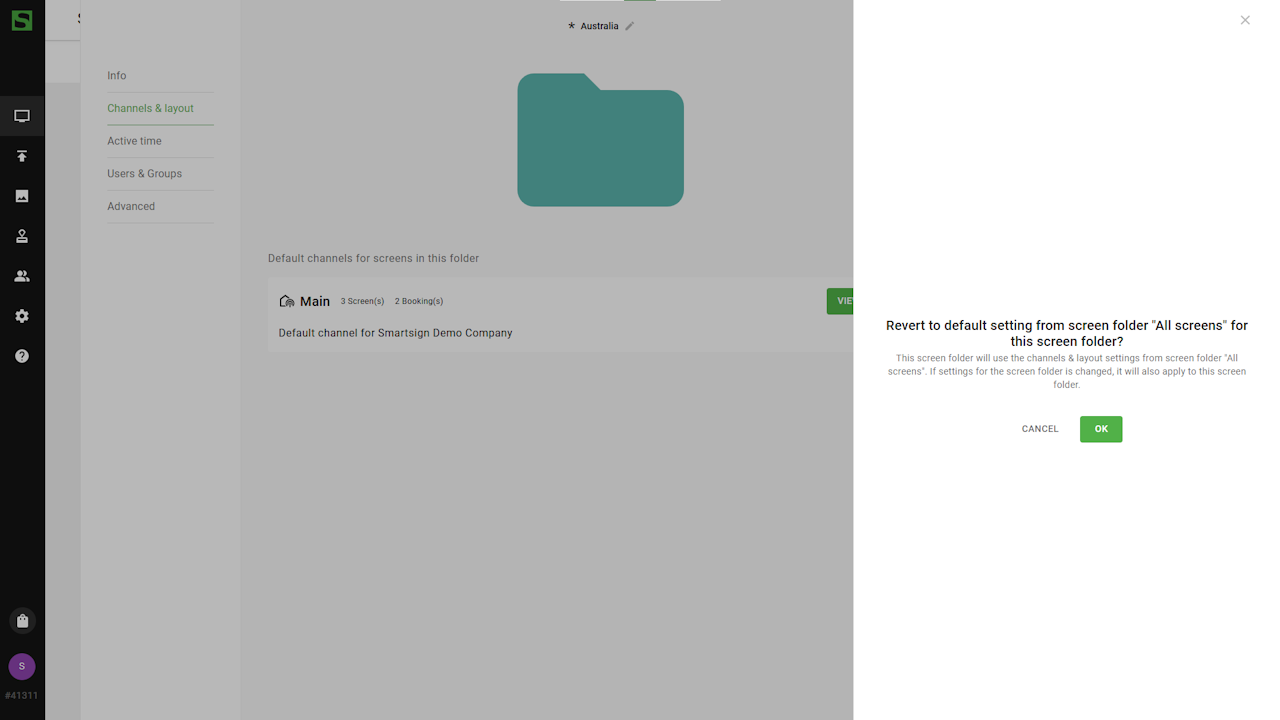
Revert settings
To revert settings to the parent folder’s defaults, simply select Revert Settings.
- In the settings tab, click the Revert button and confirm.